When our son Ian came on the scene nearly 2 years ago, we soon realized how hard it would be to actually go anywhere.
Just getting out the door for a brief trip requires organizing colossal amounts of crap. The same goes for getting outside. It’s easy to see why families with young children simply give up and stay at home.
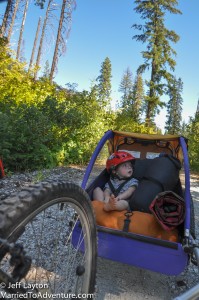 One of the sacrifices we’ve had to make during Ian’s early years is backpacking. It’s hard enough to limit what you need for a weekend to what you can carry on your back. Adding a 35 pound kiddo plus their clothes, food, sleeping bag and stuffed bear makes things too heavy to manage. If one adult carries the kid, then the other carries all of the camping gear for everyone? The math just doesn’t work.
Recently we tried something new. Rather than backpacking with Ian, we went BikePacking. And while it wasn’t quite like spending the night in the high-country, it offered a really nice compromise. We were able to find a beautiful natural camping space, and we had it all to ourselves.
Here’s how it came together.
Step 1: Find a Road
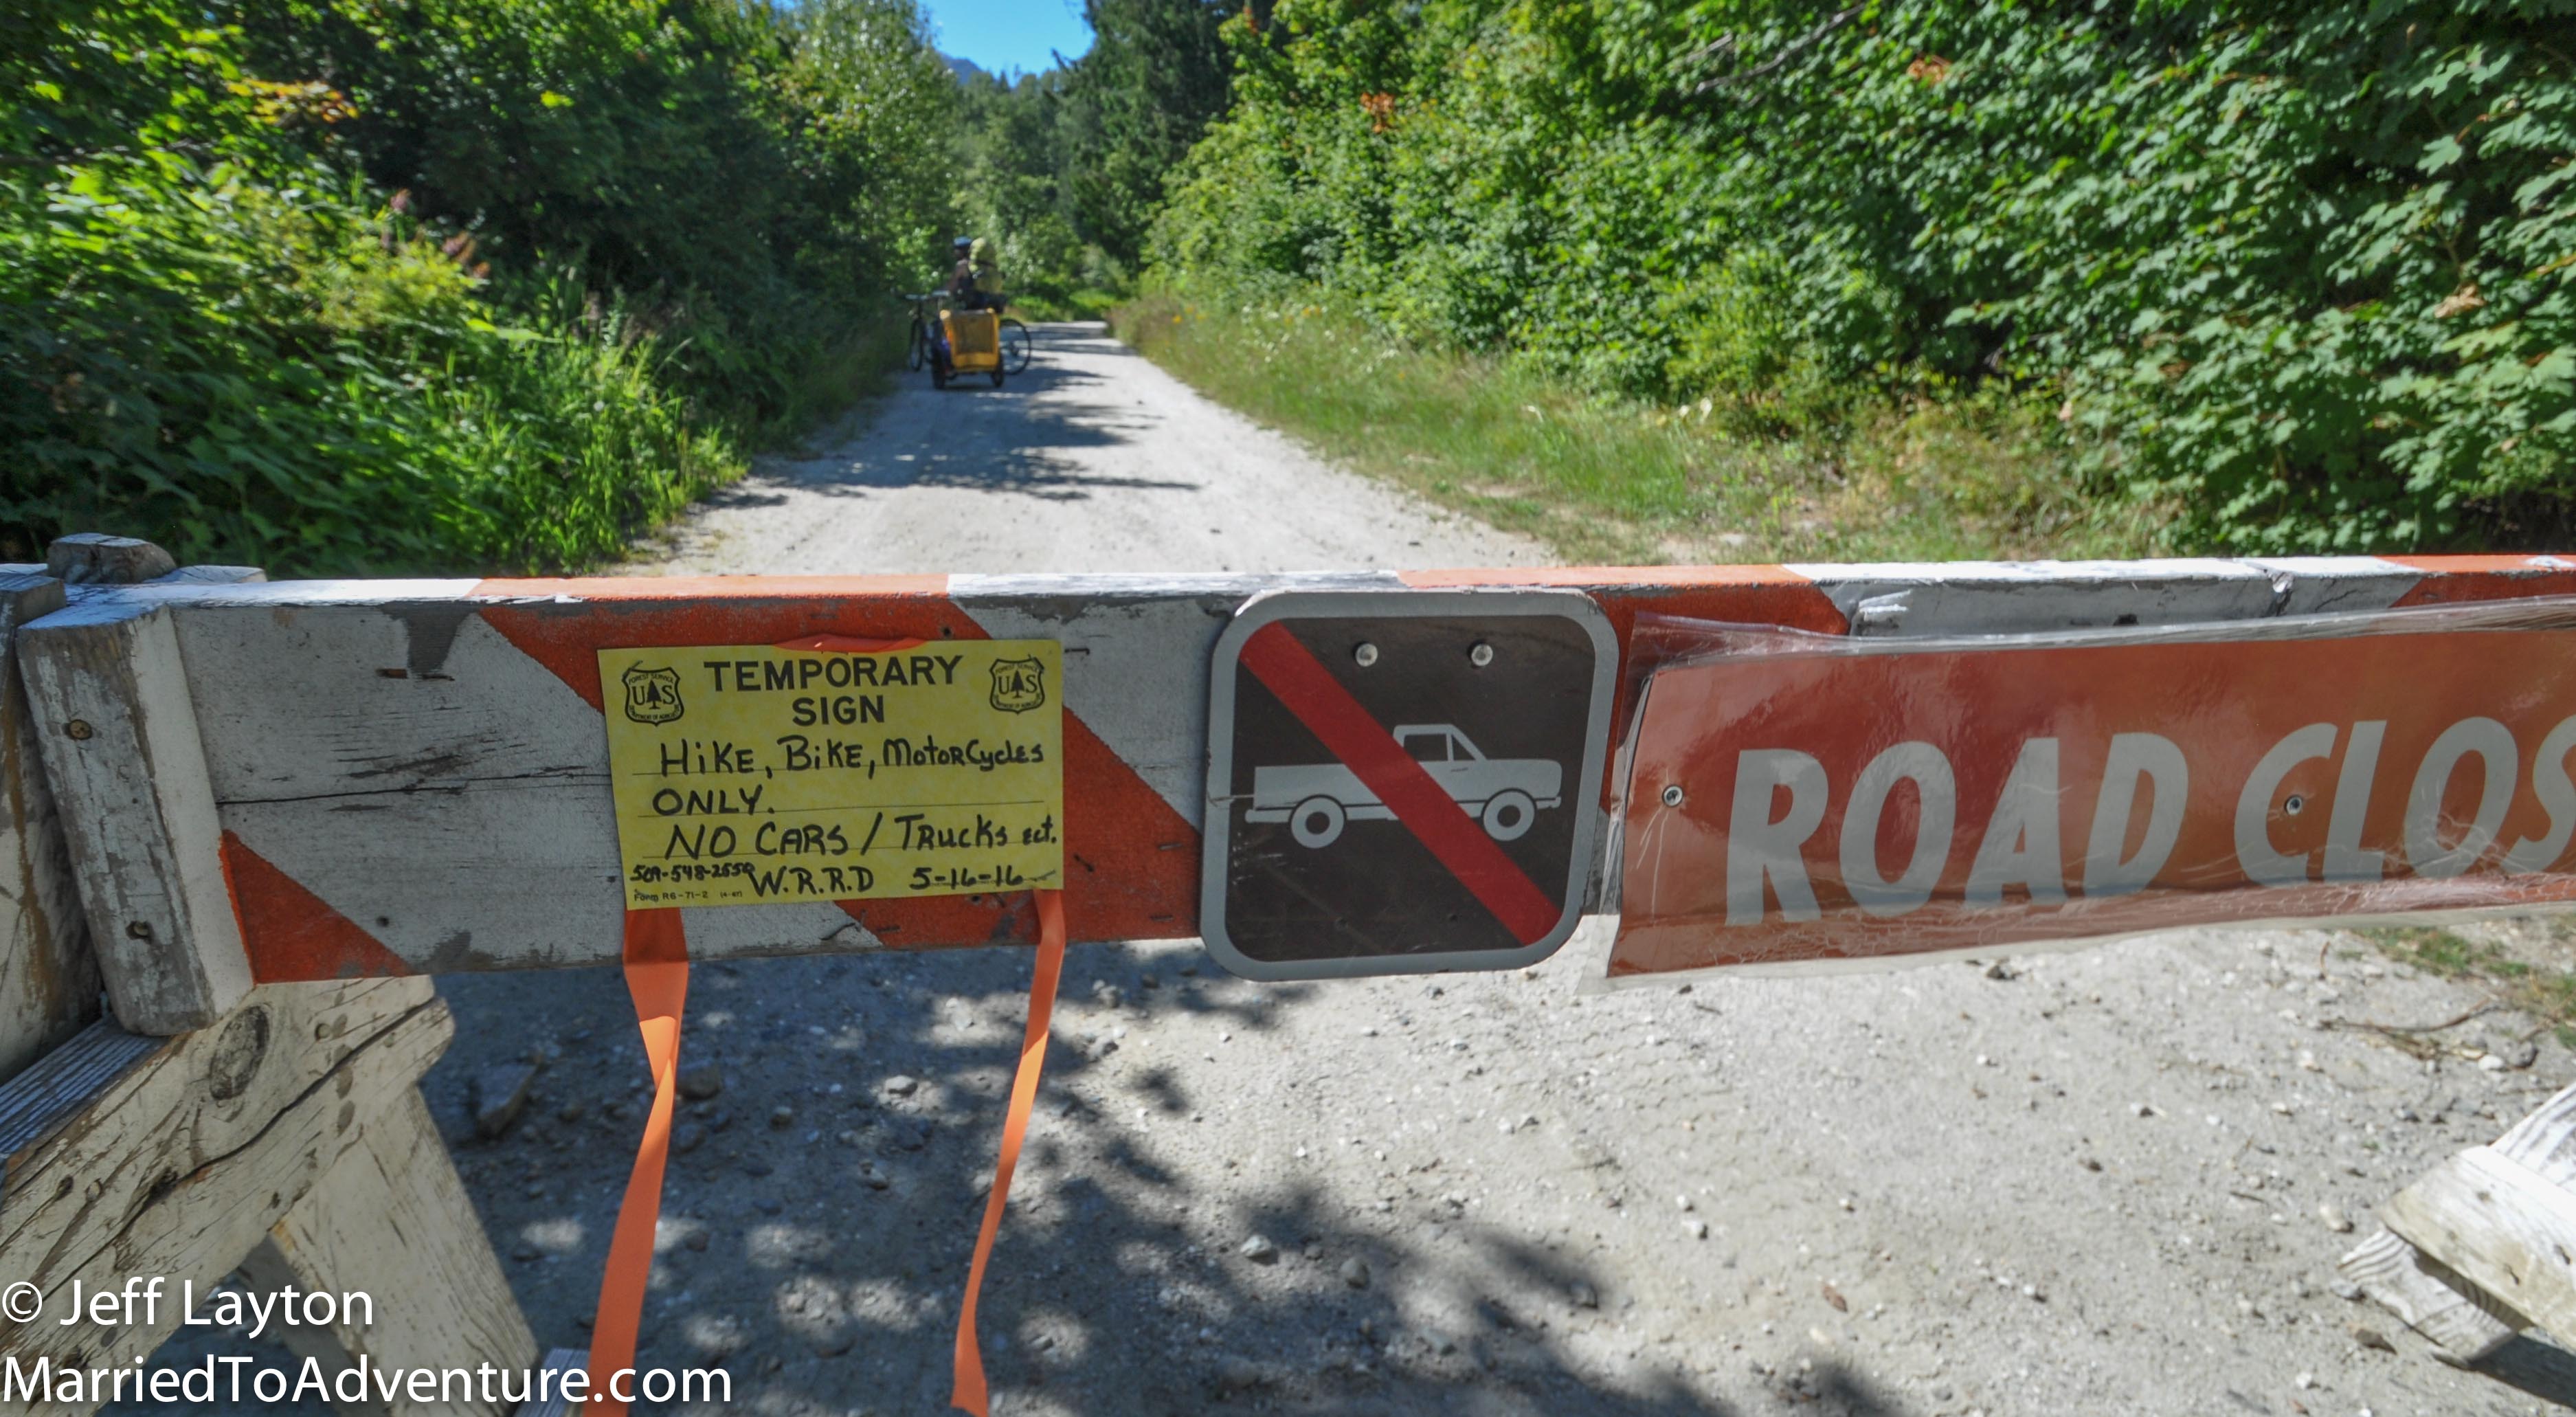
Every winter, storms knock out a handful of mountain roads. Generally these stay closed to vehicles for months while government agencies scrounges money and resources to fix the problem.
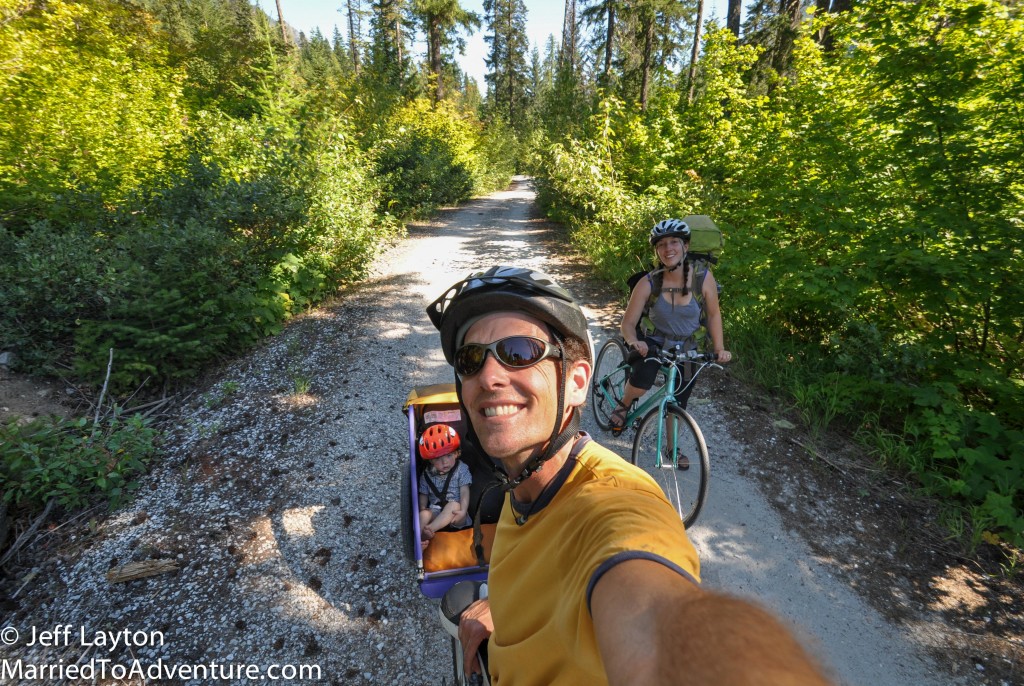
In our case, there’s a washed out Forest Service road 20 minutes from our house. While cars couldn’t navigate it, the gravel road was easy enough for hikers and bikes to circumvent.
The great part about following a road, is they are plenty wide for bikes and (usually) have a nice even grade.
Step 2: Get a Trailer
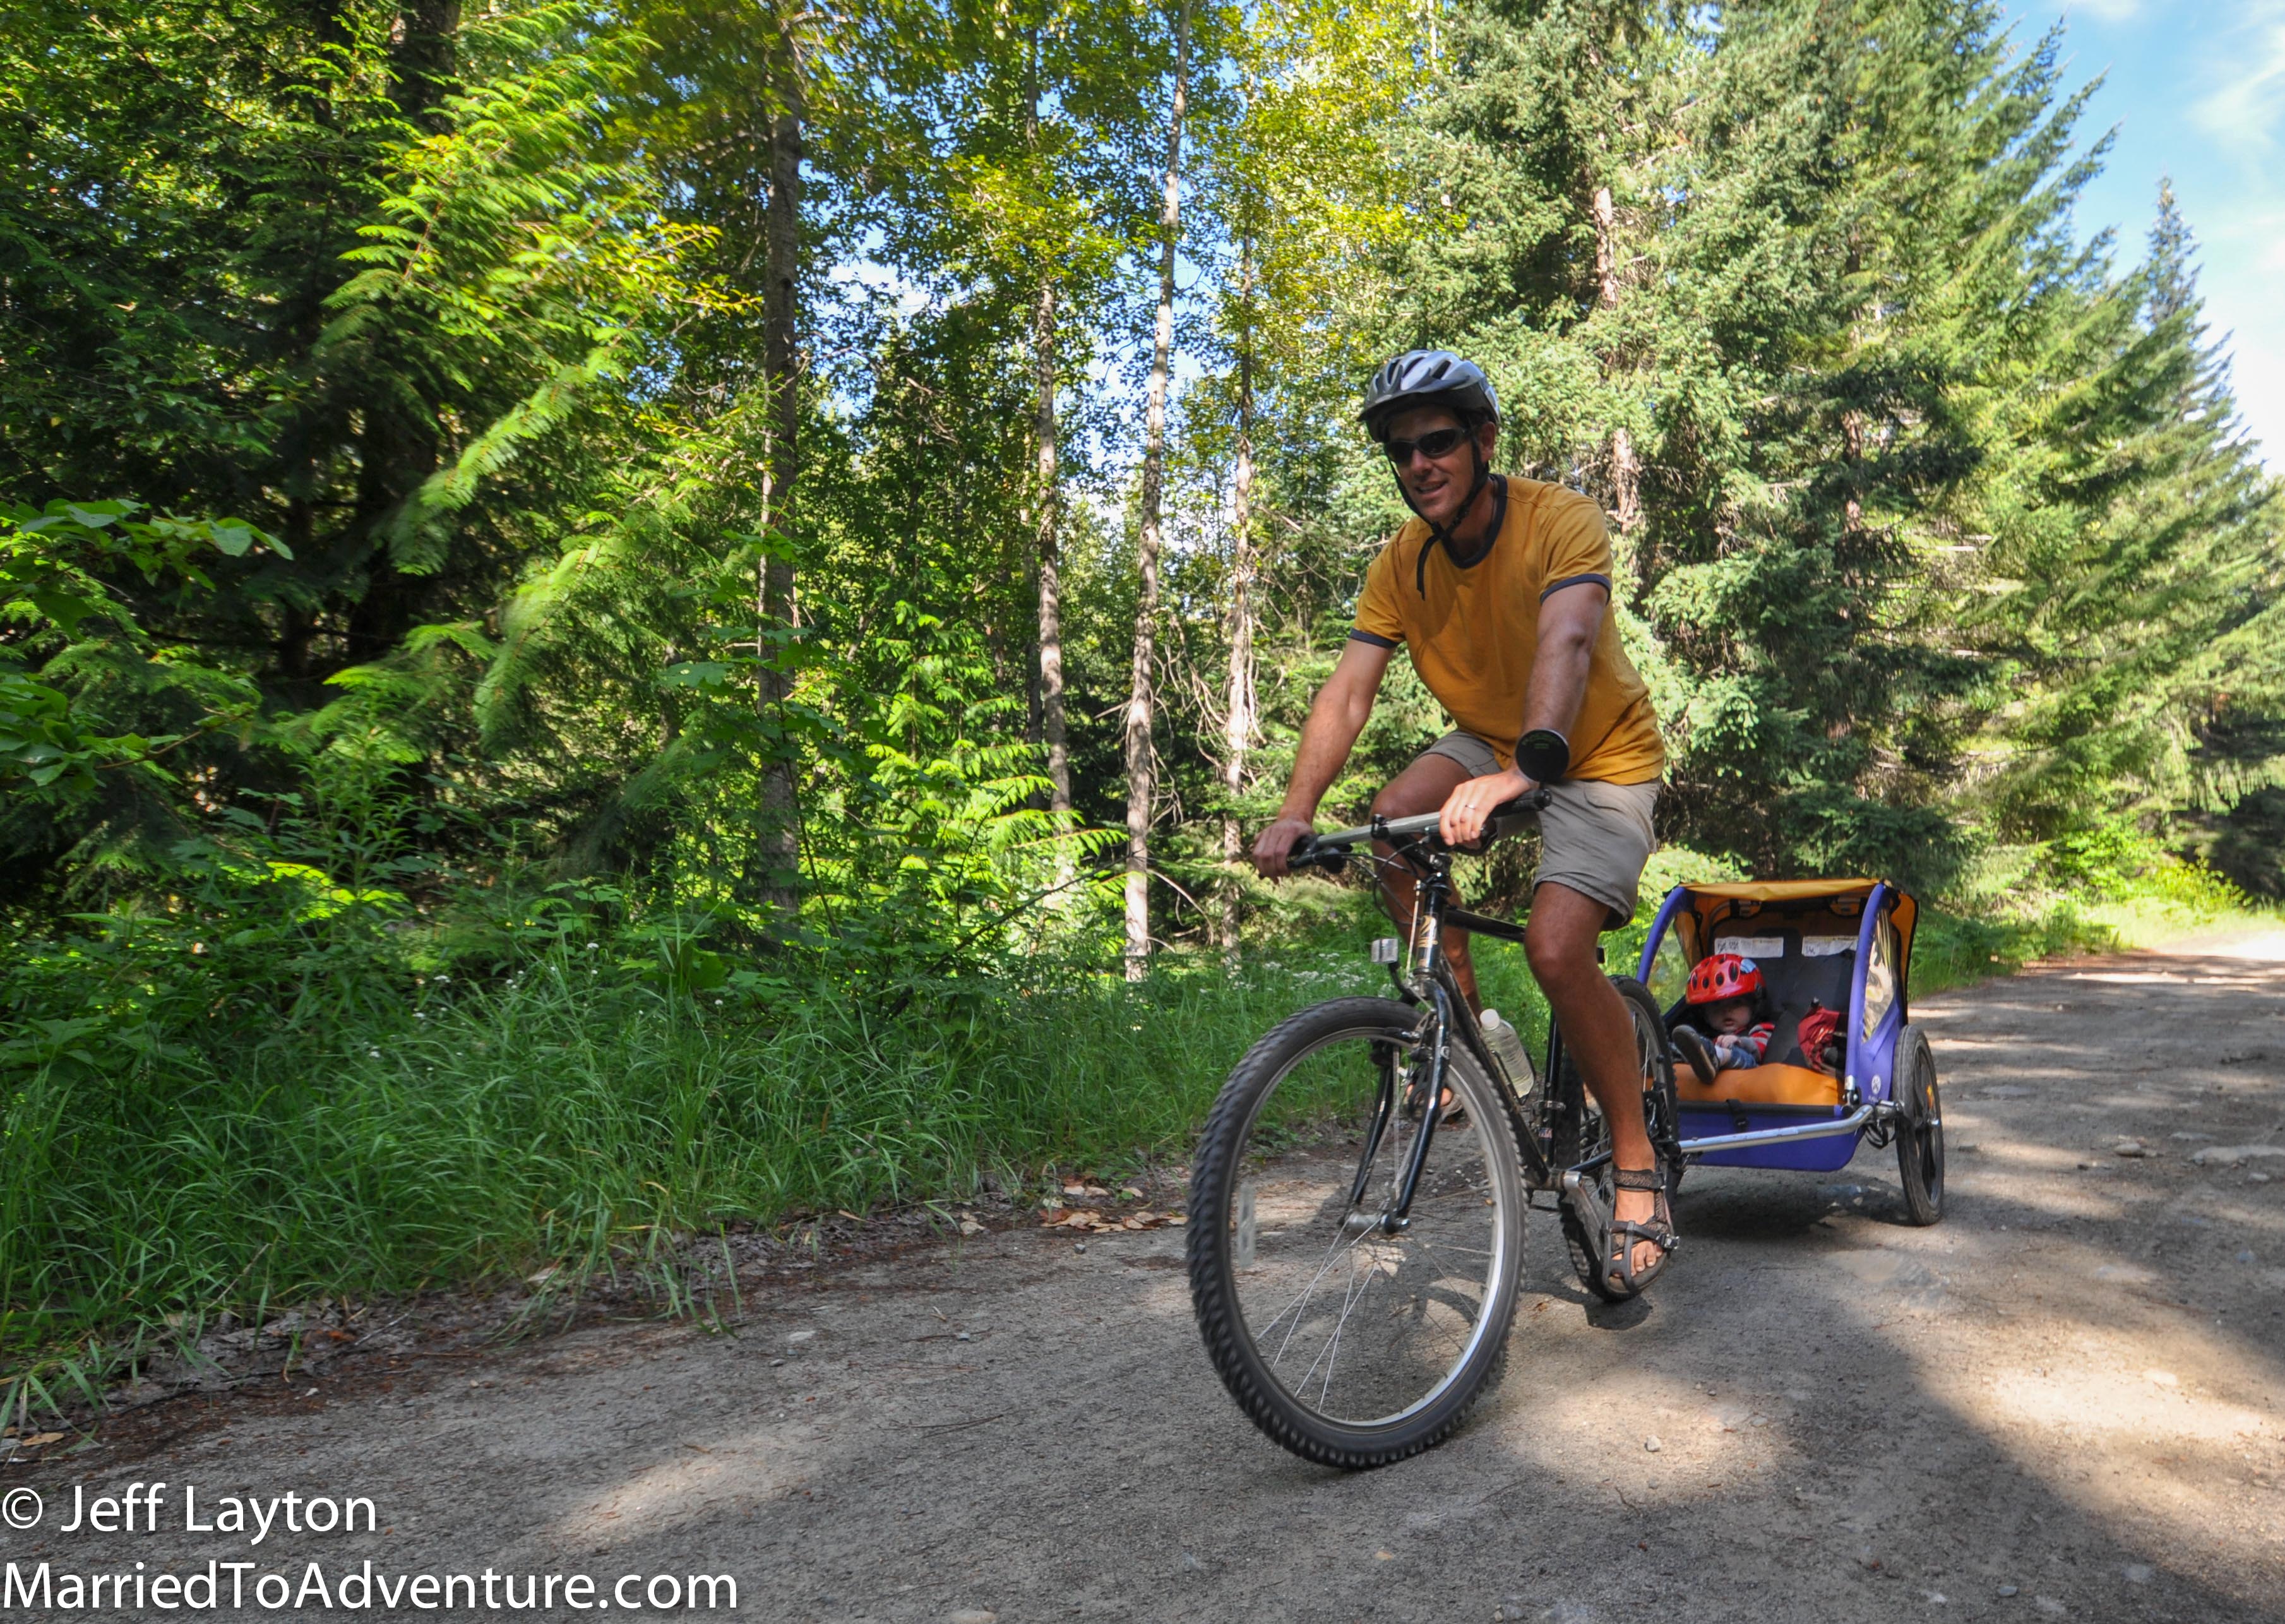
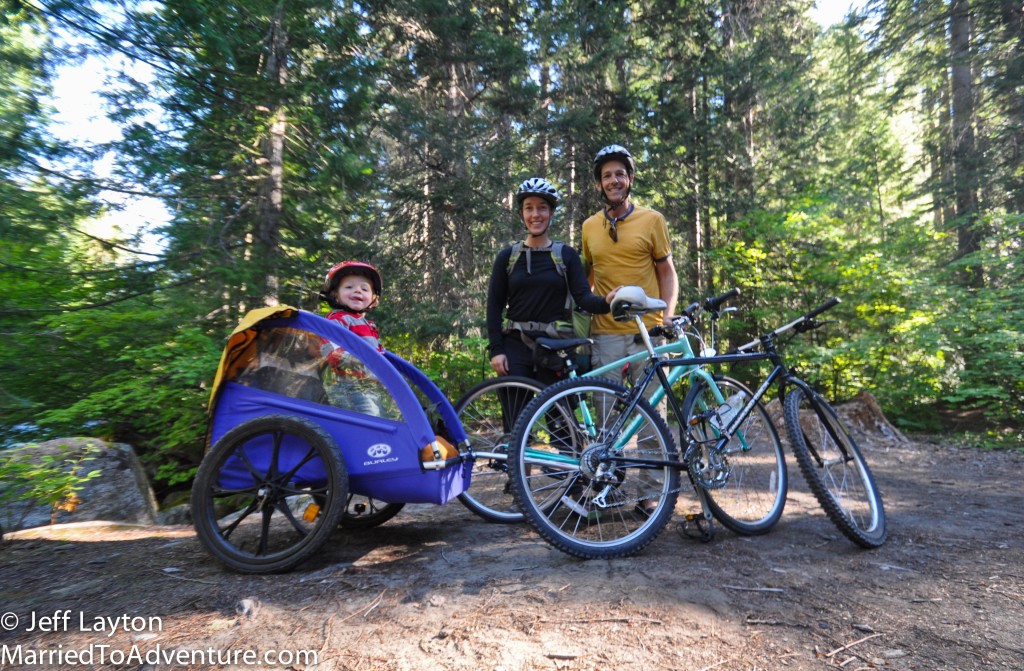
Most people who bike with kids travel with some kind of trailer. And if you don’t own one, they’re pretty easy to borrow and attach to almost all kinds of bikes.
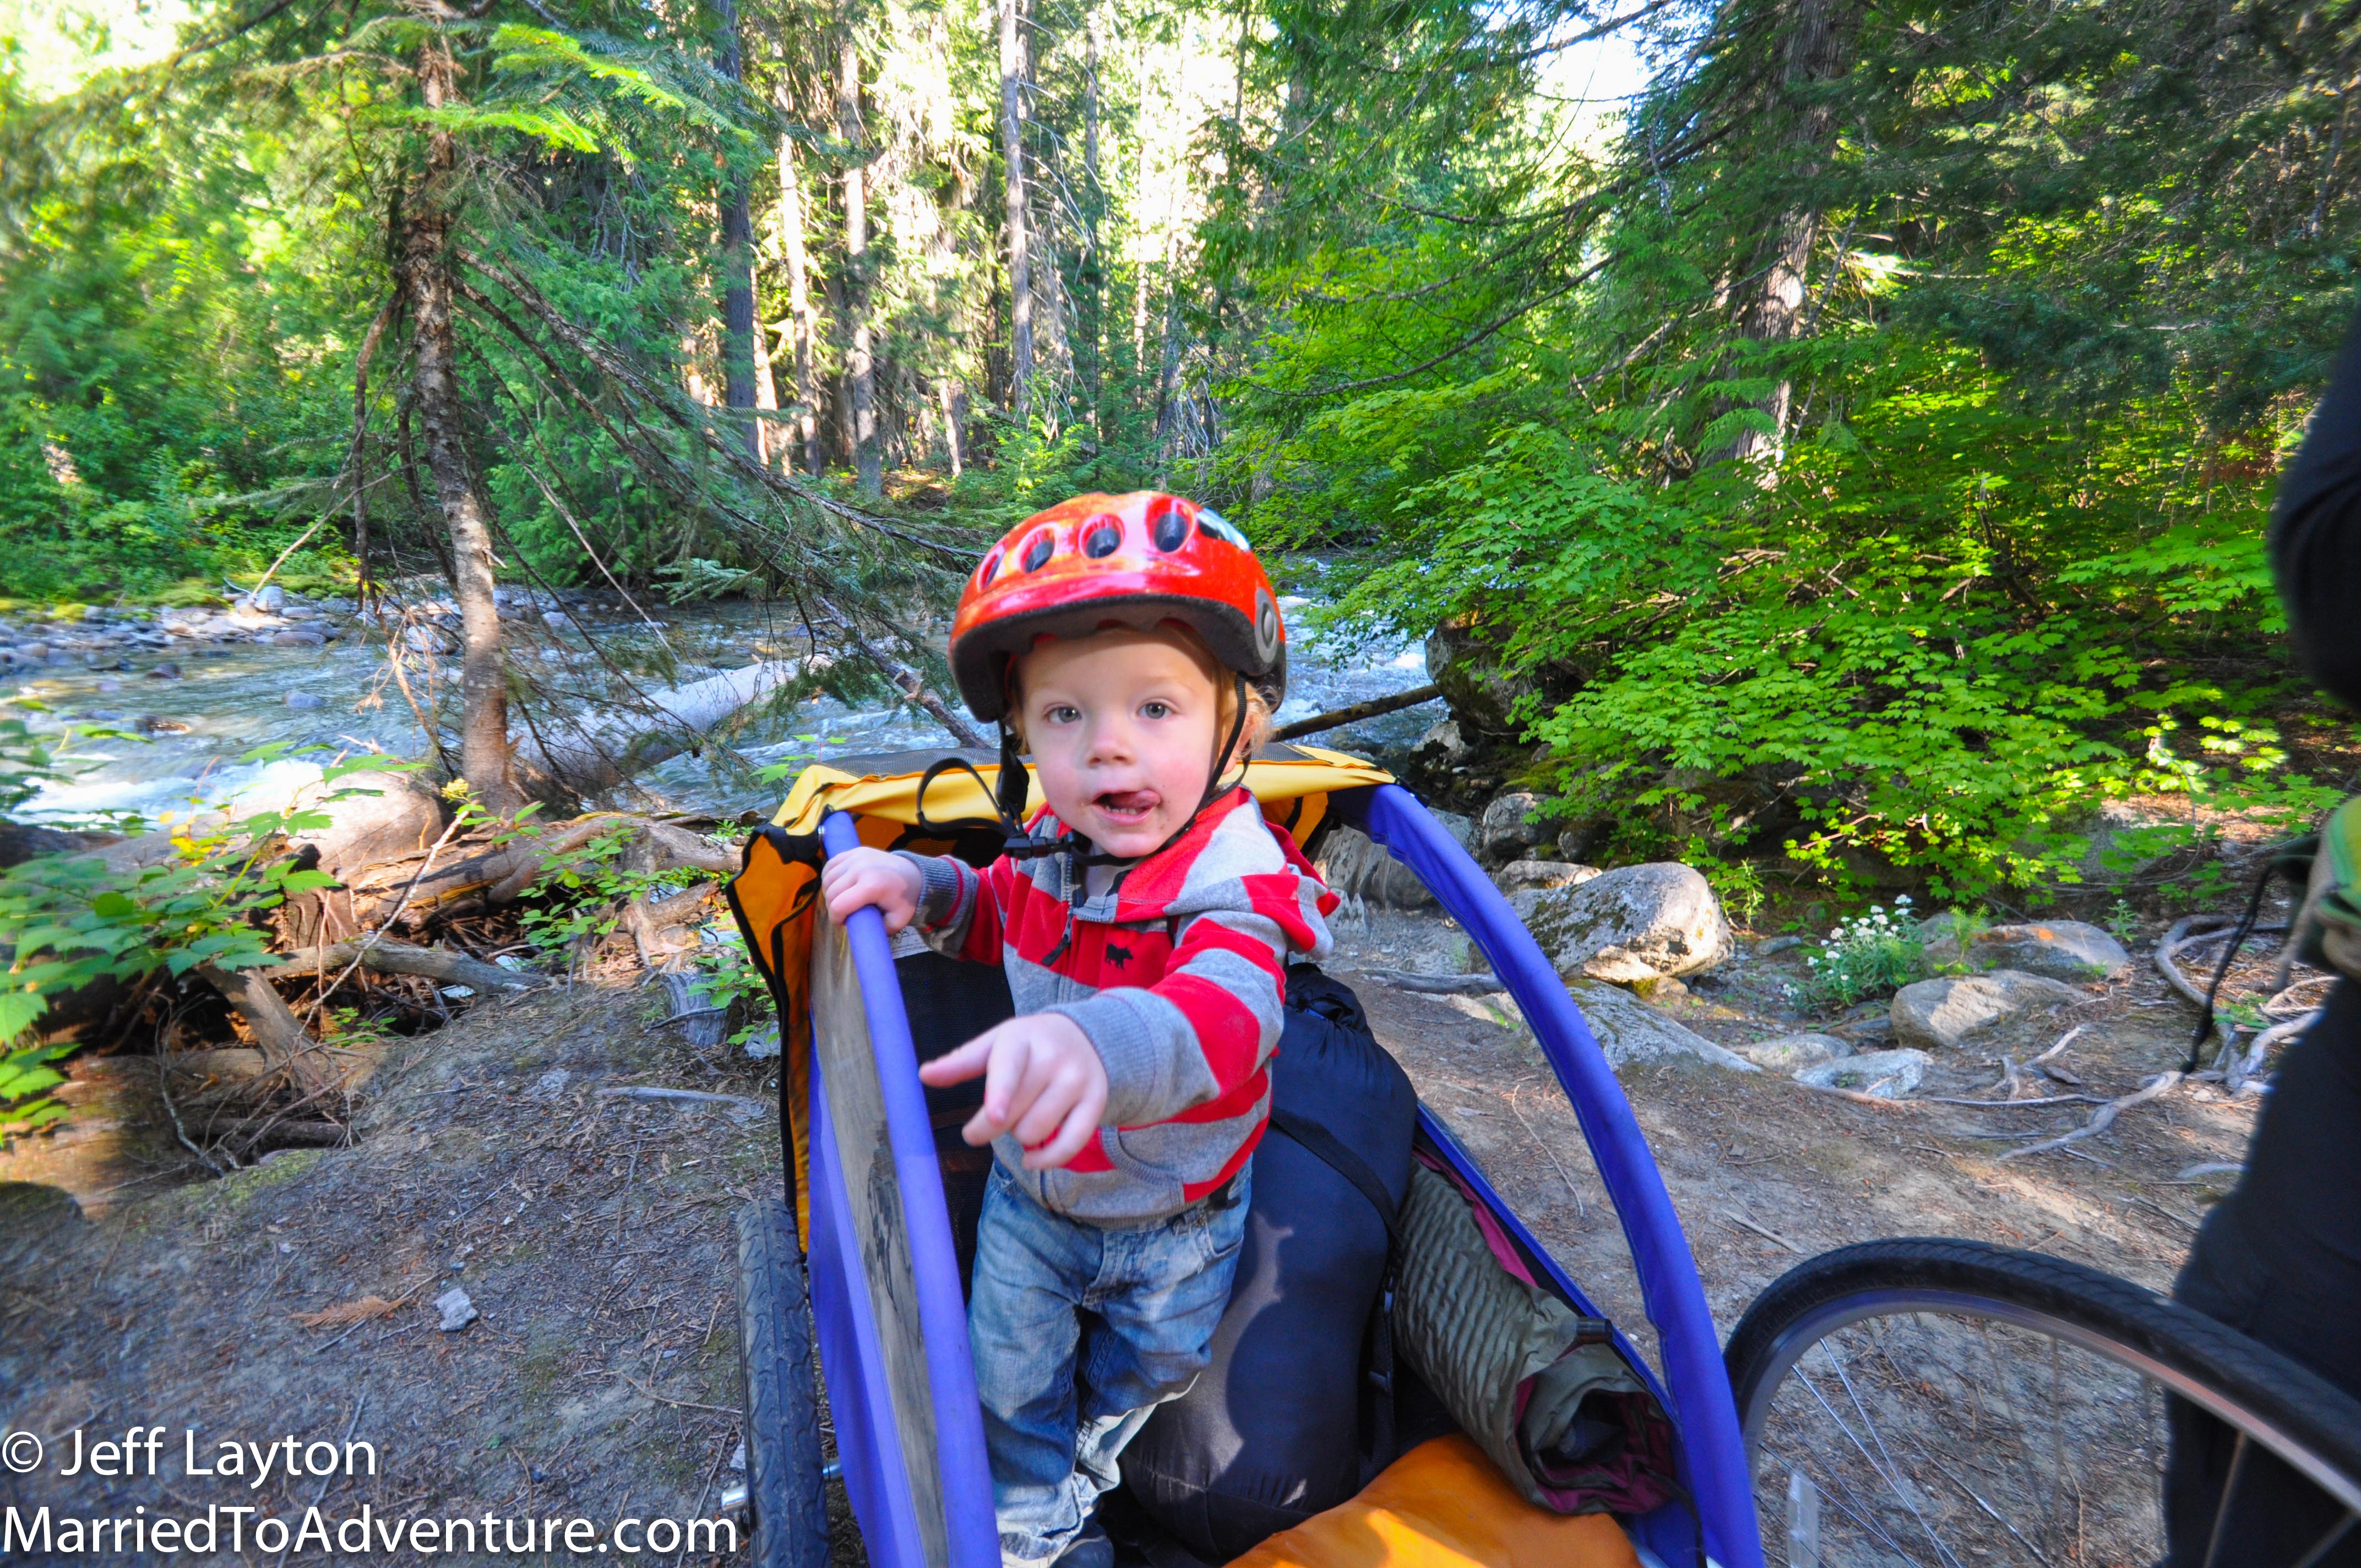
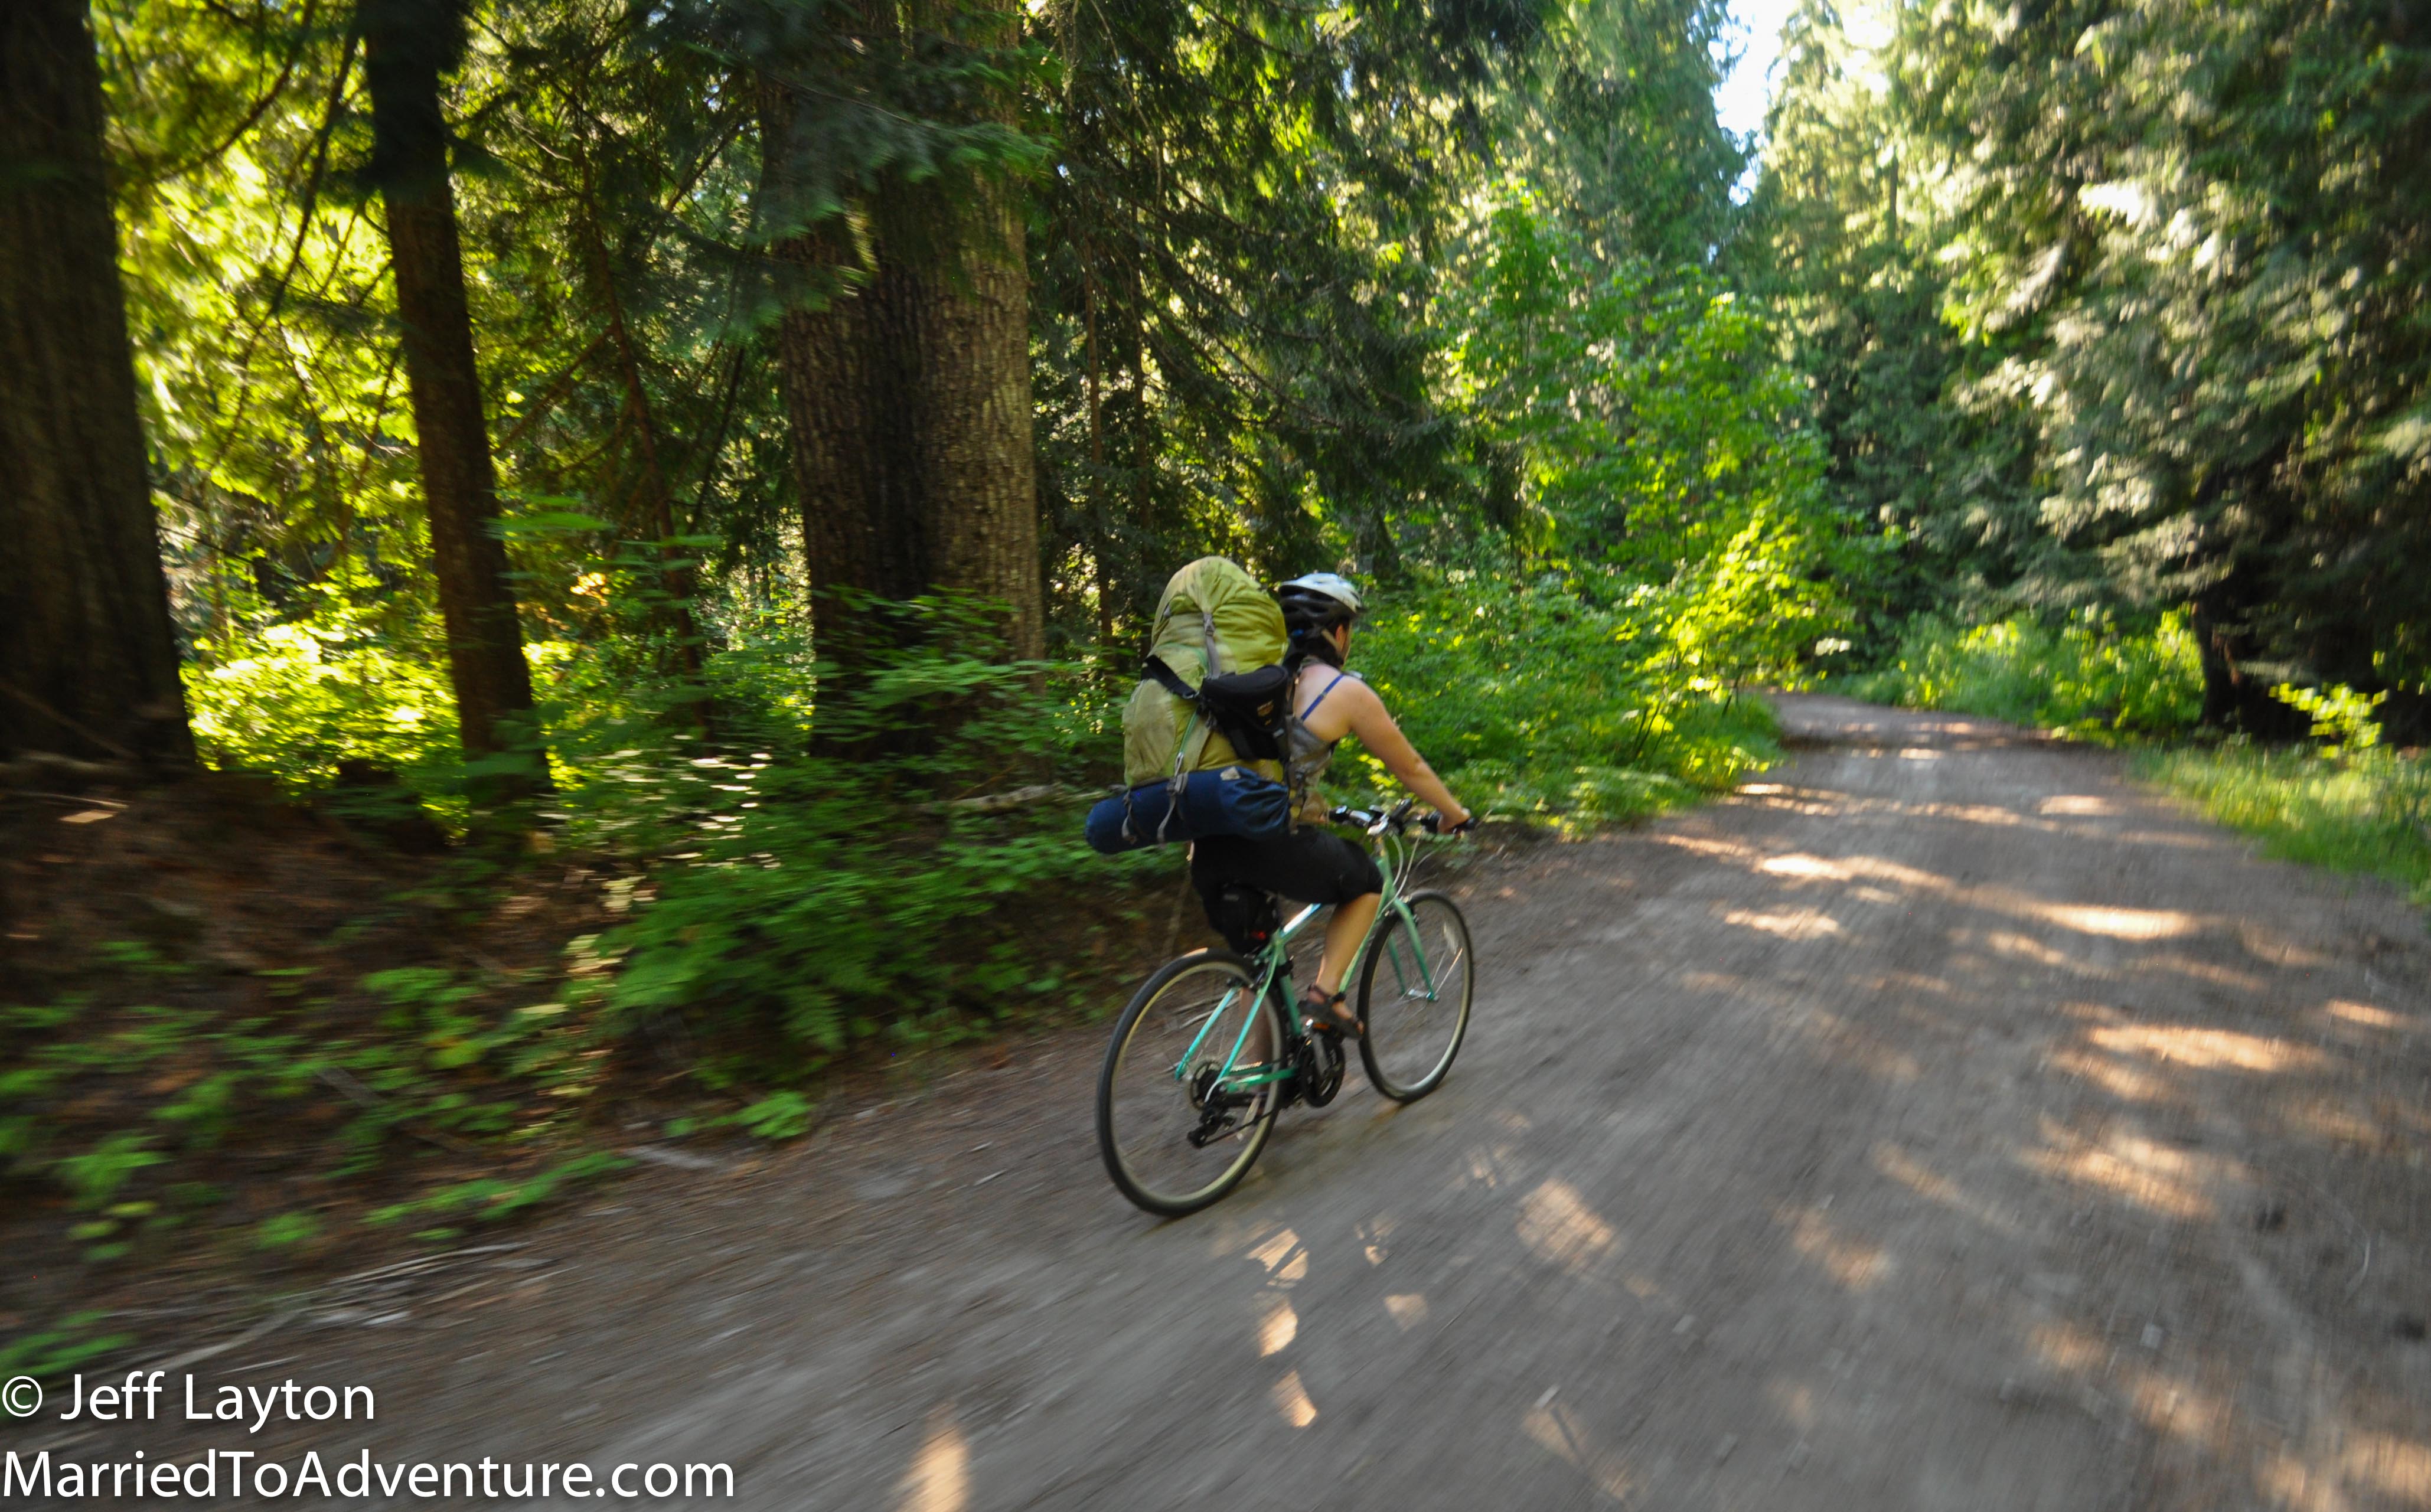
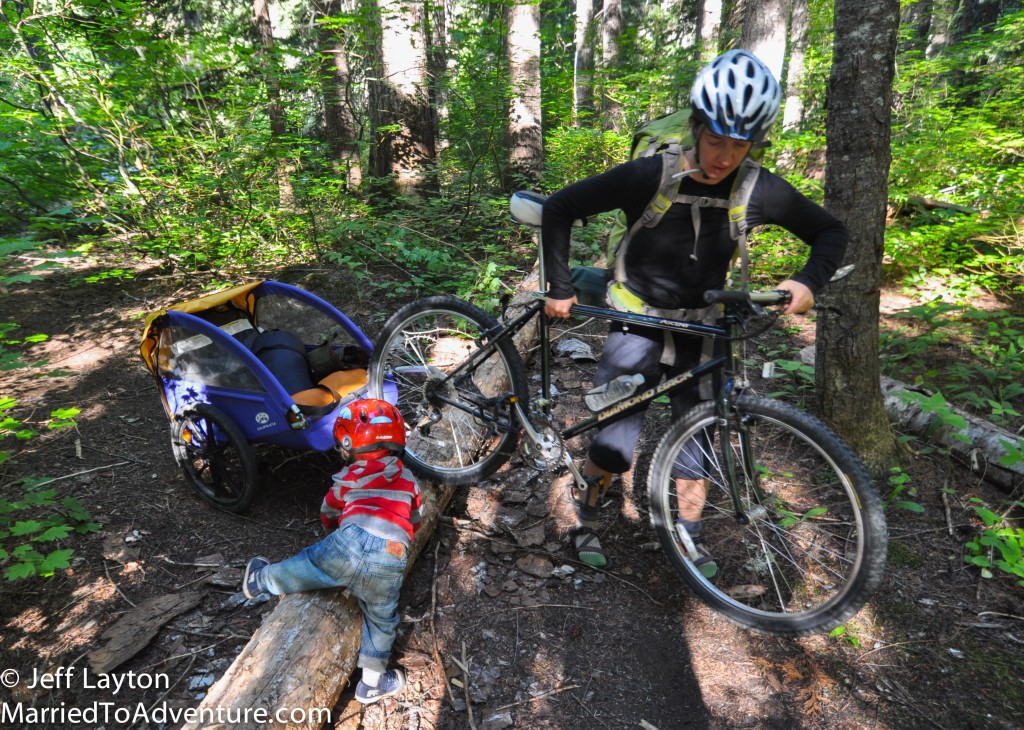
Ours is designed to store cargo as well as young tykes. With some creative packing we filled our trailer with Ian and most of our backpacking gear, while Amanda wore her normal backpack as she biked. Between the two, we were able to manage everything we needed for the night.
Step 3: Find a Campsite
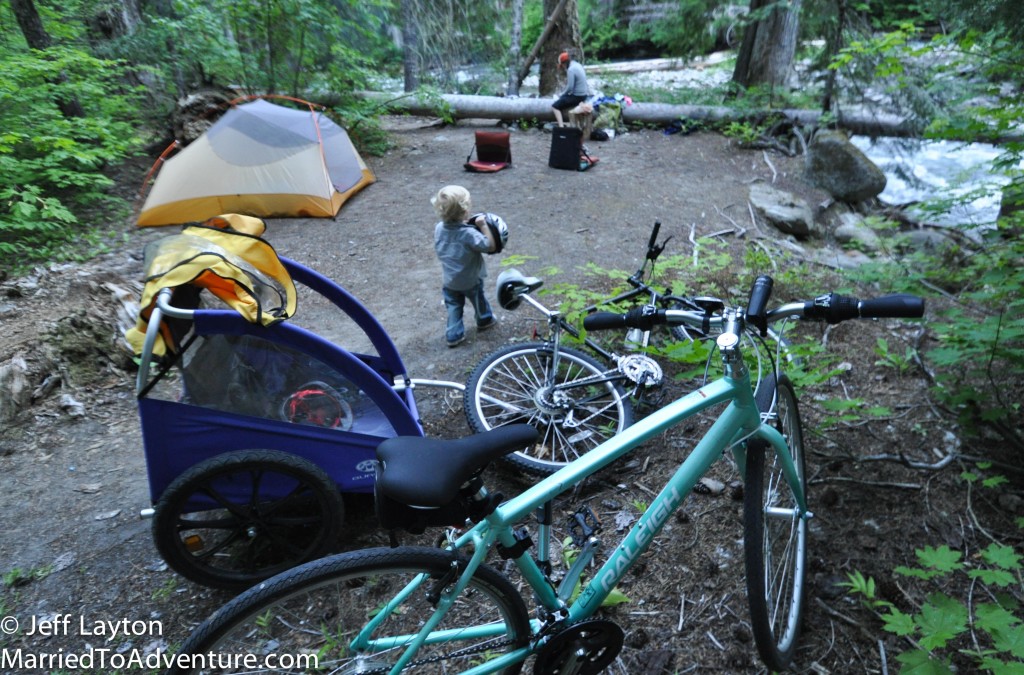
Since the Forest Service road was closed to vehicle traffic, we had this campground all to ourselves for the night
When roads are closed, they don’t see a lot of traffic so it doesn’t take long before you feel all alone.
Our maps showed that our road followed the White River for several miles and even offered two campgrounds past the closure.
We like to camp in National Forest areas because it’s so easy to find a camping spot. The rule of thumb (according to the rangers we’ve spoken with) is that if you can fit your tent there, you can camp there.
We knew that if things went sideways on our trip, we could always park near the river and set up camp on a nice comfortable sandbar.
Step 4: Be Flexible
Jeff wanted to bike for several miles to explore as much as possible, but when we reached the first abandoned campground we called it quits. Since it was a school night and we had to work the next morning, we didn’t need to travel deep into the wilderness.
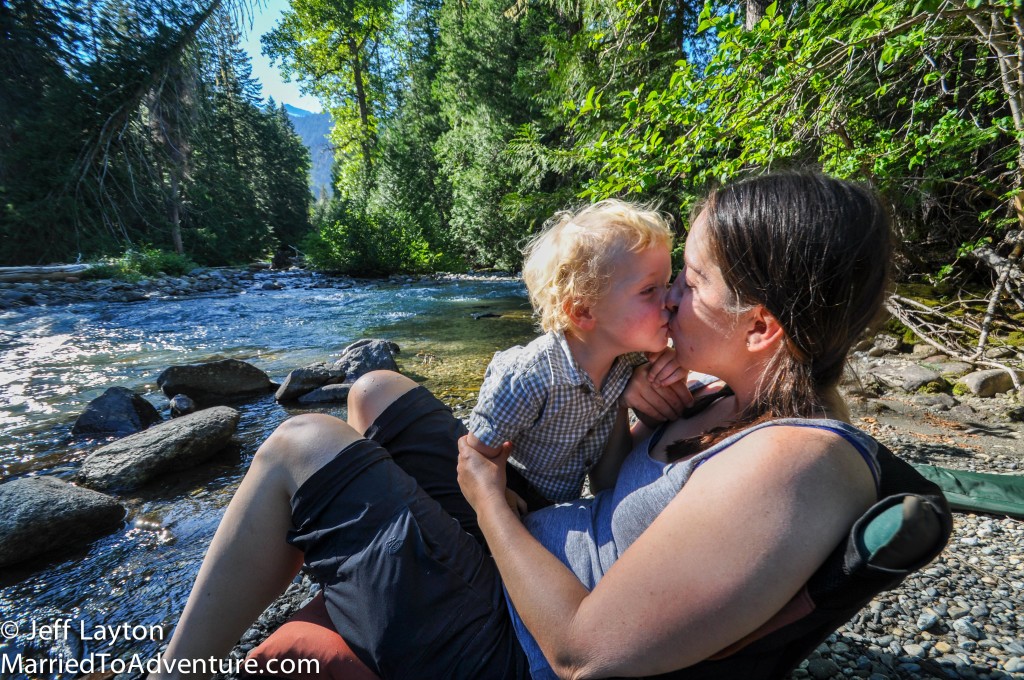
Without any vehicle traffic, we had a gorgeous riverside site in the prime of summer – and it was simply sublime.
The Consensus
OK it wasn’t quite the same as getting really remote on a backpacking trip in the mountains, but we could see the potential.
We were anxious to get outside with your young one, and bike camping down a lonely road was way better than sharing a crowded campground with a bunch of noisy families.
The lesson reinforced by the experience was this: just a tiny bit of extra effort can pay off huge dividends.
